As UMA is intended to be a relaxing experience, rather than a challenge, the only mode they may offer the player a way to showcase their skills is the timed mode.
So here is a little run down of what the display is showing you the player.
So here is a little run down of what the display is showing you the player.
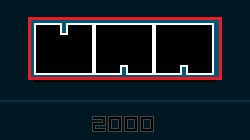
In the centre at the top we have the timer, represented by the word UMA being revealed as the game progresses. When the word is completely visible, then time is up and you will see your score. Your score is not saved, as the game is built around personal progress, so jot that down somewhere if that is something you'd like to beat next time.
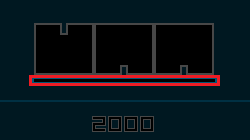
Directly underneath that is the score timer. When this bar fills the game will work out the balance of your civilisation and penalise or reward the layout you've created. You gain £100 for every system in good standing and are penalised the same amount if not.
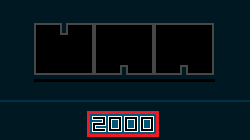
Below that we have cash, this is used to buy buildings and new islands. Be careful though, if your money goes under 0 you will be bankrupt and it's game over.
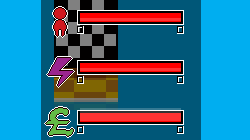
Bottom left of our screen is the economy stats. At the top is the population, you add to this by placing residential buildings (red). The purple lightening bolt represents power, you add to this by placing the power buildings (purple). And lastly in this section you have cash generation, you add to this by placing the business buildings (green).
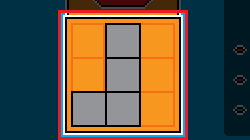
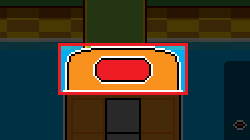
At the bottom in the centre we have the building shape selection and building type selection displays. Rotating the middle mouse wheel will cycle through the available building shapes to choose from. While pressing Q or E will cycle through the building type, represented by a colour change.
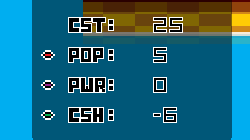
Just to the right of them we have the building stats. These affect the balance of the city you make, so pay mind to the numbers here. Note that minus numbers represent a drain on the system.
CST = Cost and is the cost in pounds of the building you want to place.
POP = Population and is the population that will be added to the system or needed for that building type.
PWR = Power and is the power that will be added to the system or needed for that building type.
CSH = Cash and is the cash that will be added to the system or needed for that building type.
In short residential builds increase the population, need no power, but need cash. Power buildings need people, increase power and need no cash. Whilst businesses need people, and power, but generate cash.
As you place the different types of buildings down in UMA you will see how those stats affect your city, represented by the little bars being either green, meaning you are in good standing or being red, meaning that you need to bring balance.
As long as you don't go bust your game will end when the time runs out and your stats for the current game will be displayed. If you want to beat this score you will need to note them down as UMA saves no scores, as it's not that type of game.
At the end of each session all your choices will be washed away.
By Roley 04/03/2020
